
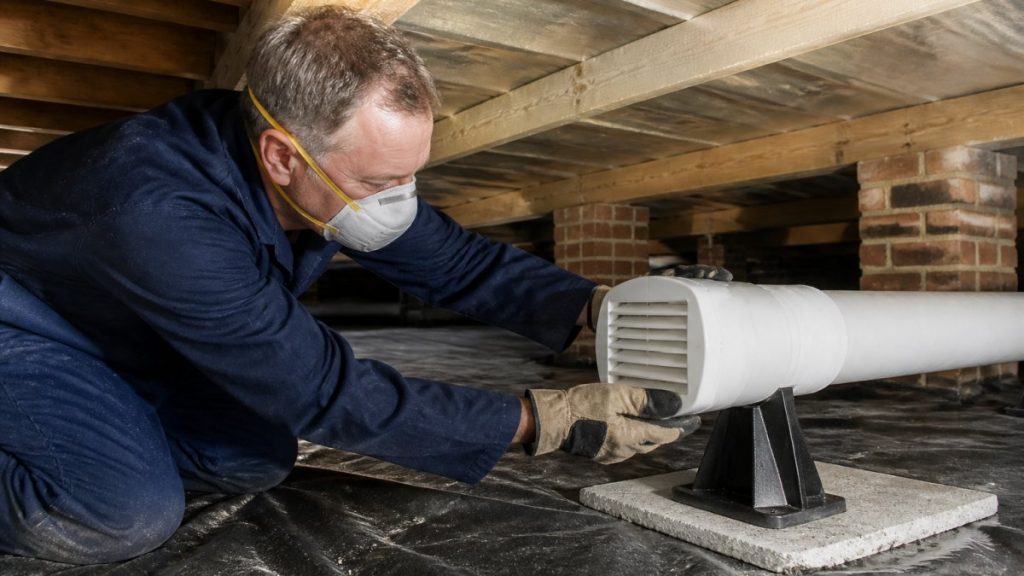
Table of Contents
- What Total Ventilation Hygiene Means
- Why Ventilation Hygiene Matters for Indoor Air Quality
- Ventilation System Inspection: How to Assess Your System
- Air Duct Cleaning: The Core of Ventilation Hygiene
- Ventilation System Cleaning: Step-by-Step Process
- Maintenance and Prevention: Keeping Your System Healthy
- How to Choose a Qualified Ventilation Hygiene Contractor
- Frequently Asked Questions
Last Updated: October 17, 2026
What Total Ventilation Hygiene Means
Total ventilation hygiene is the complete process of inspecting, cleaning, and maintaining your entire ventilation system, air ducts, grilles, diffusers, and all connected equipment that moves air, not just filter changes.
Like dental health, brushing alone isn’t enough, your system needs regular professional attention. At Doctor Damp Ventilation, we’ve spent over a century helping homeowners get this right.
A healthy system removes stale air, moisture, and contaminants and replaces them with fresh air.
Why Ventilation Hygiene Matters for Indoor Air Quality
Poor indoor air quality affects everyone, though children, elderly relatives, and anyone with asthma or allergies suffer most.
Your ventilation system is the lungs of your building, if they’re dirty, everything suffers. Air quality impacts sleep, focus, and overall health, and a system clogged with dust and debris can’t do its job.
Here’s what happens inside dirty ducts:
- Dust and skin cells collect on duct walls
- Moisture creates conditions for mould growth
- Pet hair and fibres block airflow
- Allergens concentrate in one place
The fix is straightforward: clean ventilation systems deliver cleaner air, musty smells disappear, and allergies often ease within weeks of proper cleaning.
Most people notice the difference in air quality within 3-7 days after professional ventilation system cleaning. The improvement is usually immediate and obvious.
Ventilation System Inspection: How to Assess Your System
A proper inspection reveals exactly what your ventilation system needs, diagnosis matters. Homeowners often get conflicting answers: one inspector says cleaning, another says replace the ducting, a third recommends a whole new system. A thorough inspection uses visual tools to see inside your ducts, measures airflow, checks for blockages, leaks, and contamination, identifies moisture problems, and documents everything with photos and measurements.
What an Inspection Should Reveal
A complete ventilation system inspection answers these questions:
- Are your ducts clean or contaminated with dust and debris?
- Is moisture present inside the ducting?
- Are there visible signs of mould growth?
- Is airflow adequate, or are ducts partially blocked?
The report should give specific findings, what was found, where, and what happens next, not vague recommendations.
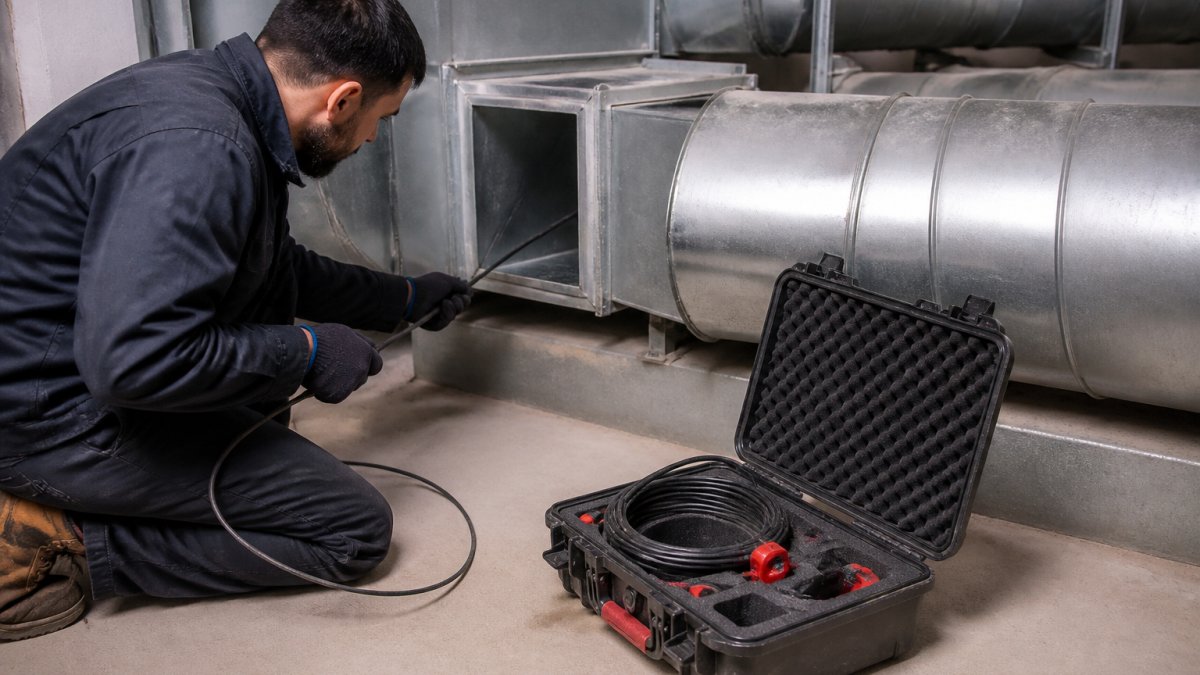
Avoid inspectors who recommend expensive solutions without showing you the problem. Demand photos or video footage of what they found inside your ducts. If they can’t show you evidence, get a second opinion.
Air Duct Cleaning: The Core of Ventilation Hygiene
Air duct cleaning is the most important part of total ventilation hygiene, ducts are where contamination hides and multiplies. Dust settles on duct walls, pet hair accumulates, moisture encourages mould, and dead skin cells feed dust mites, all circulating through your home every time the system runs. Professional cleaning removes it: specialised equipment reaches deep into the ducting, high-powered vacuums extract debris, and brushes dislodge stubborn buildup.
Signs Your Ducts Need Cleaning
Not every home needs duct cleaning at the same frequency. Some signs indicate you need it sooner:
- Visible dust or debris coming from vents
- Musty or stale odours from your ventilation system
- Increased allergy or asthma symptoms indoors
- Visible mould growth around grilles or vents
Ventilation System Cleaning: Step-by-Step Process
Professional ventilation system cleaning follows a structured, documented process. Knowing each stage helps you ask the right questions and verify the work; exact methods vary with system type and access.
Stage 1: Pre-Work Assessment and Protection
Before cleaning starts, the technician prepares your home and confirms the scope of work:
- Sealing off work areas with plastic sheeting or drop sheets to contain dust
- Protecting furniture and flooring
- Establishing clear access to all vents, grilles, and access panels
- Testing and recording baseline airflow at key outlets
Ask for the baseline airflow readings in writing, they become the benchmark for post-cleaning verification.
Stage 2: Source Removal and Mechanical Cleaning
The core cleaning stage combines mechanical agitation, compressed air, and powerful suction, with technicians accessing ducting at key points.
Common equipment includes:
- Rotary brushes and whip lines, flexible shafts with brush heads that dislodge debris from duct walls
- Compressed air tools (skipper nozzles), directional jets that push debris toward the vacuum collection point
- High-powered negative-pressure vacuums, typically HEPA-filtered units that capture dislodged material and prevent it escaping into the occupied space
- Contact vacuuming, for grilles, diffusers, and accessible plenum surfaces
This process moves systematically through your entire duct network. Every branch gets cleaned. Grilles and diffusers are removed and cleaned separately.
Loosened debris creates temporary dust, which is normal, negative-pressure suction captures most of it immediately, and any escape is cleaned up before the technician leaves.
Stage 3: Component and Coil Cleaning
Ductwork is only part of the system. A thorough job also addresses:
- Cooling and heating coils (where moisture and biofilm can accumulate)
- Drain pans and condensate lines (common mould sites)
- Air handling unit interior surfaces
- Filters and filter housings
Coil cleaning uses a coil-safe detergent and low-pressure rinse, and drain pans should be cleaned and checked for correct fall to the drain. Skipping these leaves the job incomplete.
Stage 4: Verification and Documentation
After cleaning, the system is reassembled and tested. Verification should include:
- Re-measuring airflow at the same points recorded before cleaning
- Visual inspection of cleaned surfaces using a borescope or inspection camera
- Confirming grilles and diffusers are correctly reinstalled and sealed
- Checking that access panels are closed and sealed
Ask for before-and-after photographs or video of the same duct sections. A reputable contractor will have no objection to providing this evidence, and it is the simplest way to confirm the work was done to a professional standard.
How Long It Takes and What Affects the Timeline
A typical residential job takes 4-8 hours depending on:
- The number of outlets and the length of duct runs
- Whether the system is rigid duct, flexible duct, or a mix
- Accessibility of ceiling spaces and plant rooms
- The level of contamination found
Commercial and multi-storey systems take longer and are usually staged to maintain partial operation.
A complete job ends with documented verification, airflow readings, photographs, and a written report. If a contractor cannot provide these, the cleaning is not finished.
Australian Standards and Compliance Context
There is no single Australian Standard that mandates residential duct cleaning frequency. However, several frameworks are relevant:
- AS/NZS 3666 (Air-handling and water systems of buildings, Microbial control) applies to commercial and institutional air-handling systems and sets out requirements for microbial control, inspection, and maintenance. It is the key reference for commercial premises.
- AS 1668.2 (The use of ventilation and airconditioning in buildings, Mechanical ventilation) sets ventilation design requirements that hygiene work should not compromise.
- Work Health and Safety Regulations (state and territory based) require that plant and systems of work are maintained in a safe condition, relevant to commercial duty holders.
- National Construction Code (NCC), relevant where cleaning or remediation involves alterations to ventilation systems.
For residential properties, cleaning is generally a recommended practice rather than a legal obligation, unless the property is used for a regulated activity (for example, some food premises or childcare settings) or a lease or body corporate by-law requires it.
When engaging a contractor, ask which standards they work to and how they document compliance. For commercial premises, request a report that references AS/NZS 3666 where applicable.
Maintenance and Prevention: Keeping Your System Healthy
Cleaning is important, but prevention matters more. A well-maintained system stays cleaner longer, works more efficiently, and gives early warning of problems before they become expensive.
A Practical Maintenance Schedule
The table below is a starting point. Adjust it for your system type, occupancy, and local conditions (for example, high-dust environments, nearby construction, or pets).
| Task | Frequency | Who |
|---|---|---|
| Check and replace filters | Every 1-3 months (or per manufacturer) | DIY |
| Vacuum around vents and grilles | Monthly | DIY |
| Wipe down grilles and diffusers | Quarterly | DIY |
| Check condensate drain and pan | Quarterly | DIY visual; professional if blocked |
| Inspect accessible ducting and air handling unit | Annually | Professional |
| Full system inspection with camera | Every 1-2 years | Professional |
| Professional duct cleaning | Every 3-5 years (or sooner if symptoms appear) | Professional |
| Coil cleaning | Annually or as indicated | Professional |
| Duct leakage check and sealing | Every 2-3 years | Professional |
You can do these tasks:
- Change your air filter every 1-3 months (more often in dusty conditions or with pets)
- Vacuum around vents and grilles monthly
- Keep vents clear of furniture and obstructions
- Wipe down grilles and diffusers quarterly
A professional should handle these:
- Annual system inspections
- Professional duct cleaning every 3-5 years
- Checking refrigerant levels and control systems
- Sealing any leaks in ducting
Symptom-Based Triggers: When to Act Sooner
A fixed schedule is useful, but your system will tell you when it needs attention. Arrange an assessment if you notice:
- Visible dust or debris blowing from vents
- Musty or stale odours when the system runs
- Increased allergy or asthma symptoms indoors
- Visible mould growth around grilles, vents, or the air handling unit
If two or more of these apply, book an inspection rather than waiting for the next scheduled clean.
Managing Moisture
Excess humidity is the single biggest driver of mould growth in ventilation systems. Keep indoor humidity between 30-50%, use exhaust fans in bathrooms and kitchens that vent outside (not into the roof space), fix water leaks immediately, and in humid climates use a dehumidifier or properly sized air conditioning.
Recordkeeping: The Simple Habit That Pays Off
Keep a ventilation log, a folder or spreadsheet is enough. Record:
- Date of each filter change and the filter size/type
- Date and findings of each professional inspection
- Date and scope of each cleaning (including which components were cleaned)
- Any repairs, seals, or replacements
A log helps you spot recurring problems, demonstrates due diligence if you are a landlord or commercial duty holder, supports warranty claims, and makes it easier to brief a new contractor. For commercial premises, records also support AS/NZS 3666 compliance where applicable.
Take a dated photo of your filter when you change it. Over a year, the pattern shows whether your change interval is right for your home.
Prevention Checklist
- Keep filters clean and correctly sized
- Keep vents unobstructed
- Control indoor humidity
- Fix leaks promptly
A maintenance schedule keeps your ventilation system healthy and your air quality high. Most problems can be prevented with regular attention, and the rest are cheaper to fix when caught early.
How to Choose a Qualified Ventilation Hygiene Contractor
Not all contractors are equal.
Ask potential contractors these questions:
- Are you fully licensed for ventilation work in this state?
- What equipment do you use for inspection and cleaning?
- Can you show me photos or video of what you find?
- Do you provide a written report after inspection?
- What warranty do you offer on your work?
Doctor Damp Ventilation brings over a century of experience to every job. We’re fully licensed specialists in ventilation systems and moisture control, using the latest equipment to inspect thoroughly and clean completely.
Homeowners who want clear answers about their ventilation system’s condition and professional cleaning that actually solves air quality problems, not just temporary fixes.
Total ventilation hygiene isn’t complicated, but it does require professional expertise. Your ventilation system affects your family’s health every single day.
Frequently Asked Questions
What does total ventilation hygiene include?
Total ventilation hygiene covers inspection of your entire ventilation system, cleaning of air ducts and grilles, removal of dust and contaminants, disinfection where needed, and maintenance of diffusers and control systems. It addresses both the visible components and the hidden ducting that circulates air throughout your home or building, ensuring your ventilation system delivers clean, healthy air.
How often should ventilation systems be inspected and cleaned?
Most homes benefit from a professional ventilation system inspection every 12 months, with air duct cleaning typically needed every 3-5 years depending on usage, dust levels, and whether anyone in the household has allergies or respiratory sensitivities. Homes with pets, smokers, or high moisture may need more frequent attention. A qualified contractor can assess your specific situation during an inspection.
Can ventilation hygiene help reduce mould and damp?
Yes. Poor ventilation hygiene allows moisture to accumulate in ducts, creating conditions where mould thrives. A clean, well-maintained ventilation system with proper airflow reduces indoor humidity, prevents condensation, and discourages mould growth. Combined with sub-floor ventilation and moisture control, total ventilation hygiene is a key part of eliminating damp and protecting your indoor air quality.
What are the signs that ventilation ducts need cleaning?
Watch for musty or stale odours coming from vents, visible dust or debris around grilles and diffusers, reduced airflow from registers, increased allergies or respiratory symptoms indoors, and visible mould or discolouration inside ducts during inspection. If your home feels consistently humid despite adequate ventilation, that’s also a signal your system may need professional cleaning and assessment.
