
Last Updated: November 4, 2026
Quick Summary
Rising damp treatment itself is usually quick, with installation typically completed in one to two days. The full job takes longer because walls need time to dry, plaster needs time to cure, and drying can take weeks to months depending on the wall. Paint and plaster should only go on once moisture readings confirm the wall is dry.
- Injection damp proofing is typically completed in a matter of days.
- Installation usually takes one to two days.
- Full drying commonly takes 24 to 48 hours for the treated surface, with longer for deeper moisture.
- Thick, solid or heavily saturated walls can take considerably longer to dry.
- Only decorate after moisture readings confirm the wall is dry and the plaster has cured.
Table of Contents
- How Long the Treatment Itself Takes
- Rising Damp Treatment Process From Survey to Installation
- Wall Drying Time After Damp Treatment
- Factors That Change Drying Time
- Rising Damp Replastering Time
- When to Paint After Damp Treatment
- Booking Your Survey and Planning the Schedule
- Frequently Asked Questions
How Long the Treatment Itself Takes
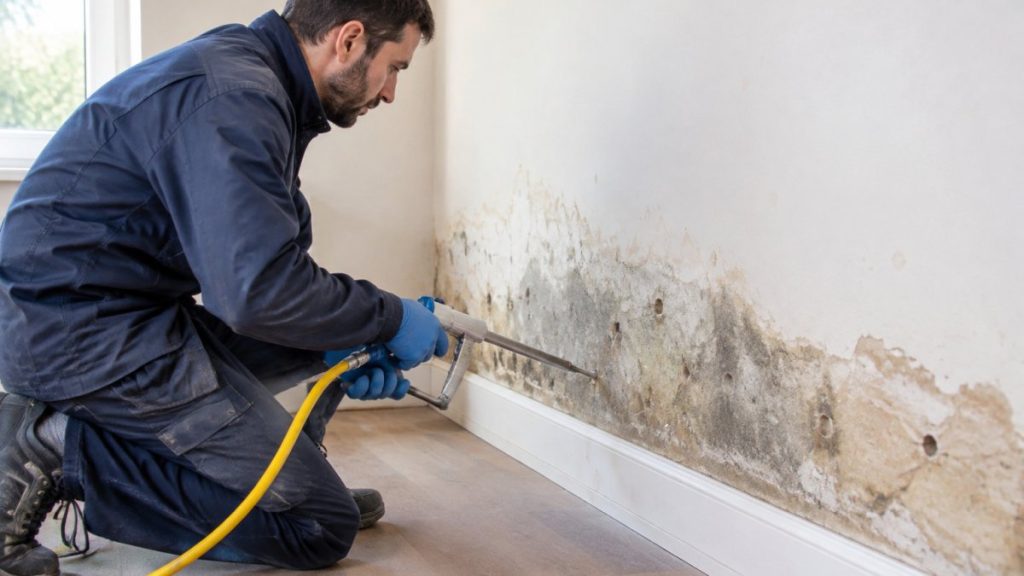
Rising damp treatment is often quicker than people expect. Injection damp proofing is typically completed in a matter of days, though the exact duration depends on the property and the treatment chosen. Ask for a schedule specific to your home.
The full job takes longer than the installation itself. Walls need time to dry, plaster needs time to cure, and the finish needs time to settle. Breaking the timeline into installation, curing, drying and finishing stages can make the schedule easier to plan.
- Installation: usually one to two days
- Surface readiness: often 6 to 8 hours after some products are applied
- Full drying: commonly 24 to 48 hours for the treated surface, with longer drying for deeper moisture
- Redecoration: depends on the wall, as covered below
Rising Damp Treatment Process From Survey to Installation
Most treatments start with a survey, not the work itself. A professional damp report typically takes several working days from survey to written findings.
A typical sequence looks like this:
- Survey and diagnosis: the technician checks moisture readings and wall condition.
- Report and quote: you receive the findings and a recommended treatment.
- Installation: the chosen treatment is applied, often in a day or two.
- Drying and finishing: walls dry out before plastering or painting.
Treatment choice should follow the diagnosis, not the other way around. Confirming the cause before committing to a timeline is sensible.
Wall Drying Time After Damp Treatment
The treated wall is not dry just because the installation is finished. This is where most of the confusion around rising damp timelines comes from: the injection work may be over in a day or two, but the masonry can keep releasing moisture for weeks or months afterwards. Separating the stages explains why one source says 24 hours and another says several months, they are describing different stages, not contradicting each other.
A useful way to think about it is in four overlapping stages:
- Installation: the damp-proof course is injected or installed, usually over one to two days.
- Curing: the chemical or mortar needs time to set and become effective, typically a matter of days depending on the product and wall.
- Drying: residual moisture in the masonry migrates outward and evaporates. This is the long stage, and it is governed by wall thickness, saturation, salts and airflow.
- Finishing: plaster, render and paint go on only once readings confirm the wall is dry enough.
Surface drying and full drying are different things. A treated surface can feel dry well before the wall is dry through its depth. Thick stone, solid brick and heavily saturated walls hold far more moisture and can take considerably longer.
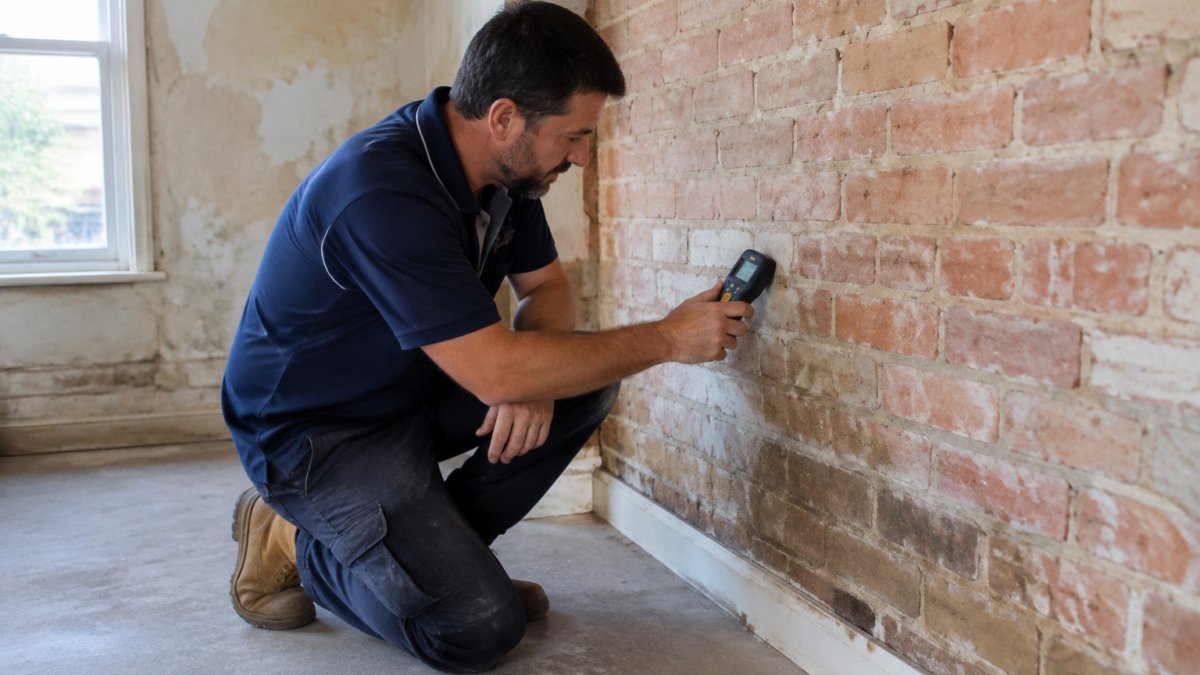
A moisture reading is the only reliable way to judge readiness. A tradesperson can use a calibrated moisture meter, and where salts are involved, a salt test, to check the wall before any plaster or paint goes on. Visual checks alone are misleading because a wall can look and feel dry at the surface while still holding moisture deeper in.
Watch out: a wall that keeps reading wet months after treatment usually points to a misdiagnosis or a second moisture source, a bridged damp-proof course, a leak, or penetrating damp, rather than a slow drying wall, so ask for readings to be taken again before assuming the treatment has failed. Lingering dampness can also lead to mould, so read whether rising damp can cause mould to understand the risk during drying.
The table below sets out the four stages of the treatment timeline and what governs each one.
| Stage | Typical timing | What governs it |
|---|---|---|
| Installation | One to two days | Damp-proof course injected or installed |
| Curing | A matter of days | Product and wall type |
| Drying | The long stage, weeks to months | Wall thickness, saturation, salts and airflow |
| Finishing | Only once readings confirm dryness | Moisture meter and salt test results |
Factors That Change Drying Time
Several factors change how long a wall takes to dry:
- Wall thickness: thicker masonry holds more moisture.
- Severity of damp: heavy saturation takes longer to clear.
- Salt contamination: salts attract moisture and slow drying.
- Ventilation and airflow: good airflow speeds drying.
- Season and temperature: cold, humid weather slows the process.
Salt damage is a common reason drying takes longer than expected. Where salts are heavy, the wall may need more time before it is ready for finishing.
The NSW heritage guidance on rising damp notes that a normal rising damp limit is 0.5 to 1.5 metres above ground level. Walls rising higher than this may point to a different moisture source, which can extend the timeline. NSW Department of Environment and Conservation rising damp information sheet
Rising Damp Replastering Time
Replastering should wait until the wall is properly dry, and the decision should be driven by readings rather than by a fixed calendar. Plastering too early can trap moisture behind the new finish and bring the problem back.
The reason replastering is its own stage is salt. Rising damp carries ground salts into the masonry, and as the wall dries those salts crystallise near the surface, blowing plaster and paint. Standard gypsum plaster and ordinary paint are vulnerable to this, which is why salt-resistant backing coats and renovation plasters are used on walls that have had rising damp. Where salts are heavy, the wall may need longer before any finish goes on, and the contaminated plaster may need to be removed to a greater height than the damp itself reached.
A practical sequence most practitioners follow:
- Strip back the old plaster to sound masonry, typically to around 0.5 to 1.5 metres above ground level where rising damp is present, and further where salts have climbed higher.
- Let the wall dry until moisture readings are stable and acceptably low, this is the variable stage, not a fixed wait.
- Apply a salt-resistant backing coat or renovation plaster rather than standard gypsum.
- Allow the new plaster to cure before decorating, following the manufacturer’s guidance for the product used.
- Paint only after the plaster has cured and readings confirm the wall is dry.
How long this takes in practice depends on the wall, its thickness, how saturated it is and the weather, so it is best judged by moisture readings rather than a fixed period.
Watch out: before agreeing to replastering, ask what moisture readings were taken and what backing coat is being specified.
When to Paint After Damp Treatment
Paint should only go on once the wall is dry and the plaster has cured. Painting too soon can trap moisture, cause blistering and hide problems that are still developing.
A simple check helps:
- The wall reads dry on a moisture meter
- The plaster feels cool and firm, not damp
- No dark patches or salt bloom appear on the surface
If any of these checks fail, wait longer before painting.
Booking Your Survey and Planning the Schedule
Start with a survey. Once you know the cause and the treatment, you can plan the rest of the timeline around it. To find a local specialist to carry out the survey, see rising damp repair specialists near you. A specialist can assess the property and recommend the right approach, so you know what to expect before work begins.
To plan your schedule:
- Book a survey and ask for a written report.
- Confirm the installation date and expected drying period.
- Schedule replastering only after readings show the wall is dry.
- Paint once the finish has cured and the wall is confirmed dry.
For guidance on identifying rising damp and the signs to look for, the Property Care Association’s guidance on rising damp treatment is a useful reference. Property Care Association rising damp treatment guidance
To book a survey or speak with the team at Doctor Damp Ventilation, call 1300 557 687.
Frequently Asked Questions
How long does rising damp treatment take?
Installing a damp-proof course or injection treatment can be completed in a matter of days, depending on the property. Treatment is only part of the timeline, though. The walls still need to cure and dry before they are replastered or painted, which can take several weeks or longer depending on moisture and salt levels. Ask your provider for a schedule that separates installation from drying so you know when the house is ready for finishing work.
How long does a wall take to dry after rising damp treatment?
Drying time varies with wall thickness, the severity of the damp, salt contamination and the weather. Some applied treatments dry at the surface relatively quickly, but the masonry behind the surface can hold moisture for a considerable time. Moisture readings taken at several heights on the wall are the most reliable way to judge readiness. Do not rely on a surface feeling dry to the touch.
Can you paint a wall straight after rising damp treatment?
Painting straight after treatment is generally not advised. Fresh paint can trap moisture, encourage blistering and hide any remaining damp. Allow the treatment to cure, let the wall dry to a level your damp specialist confirms with moisture readings, and then apply a breathable paint system. Your installer can advise on the right timing for your specific wall.
How can you tell if rising damp treatment has worked?
Look for a wall that stays dry over several months, with no new tide marks, salt crystals, flaking plaster or musty odour. Repeat moisture readings at the same points over time show whether the wall is drying and holding steady. If damp persists after a full drying period, the cause may be a different moisture source, so ask for a re-inspection rather than assuming the treatment has failed.

